Drlogy
Healthcare organization
Yellow Top Tube (SST) – Gel Separator for Serum Testing
The Yellow Top Tube, known as the Serum Separator Tube (SST), stands as a cornerstone of clinical laboratories, facilitating efficient blood collection and serum separation.
Check
This vital component plays an indispensable in numerous diagnostic tests, ensuring accurate results essential for patient care. In this guide, we delve into the specifics of the Yellow Top Tube, exploring its design, function, and significance in modern medical diagnostics.
What is a Yellow Top Tube (SST) and How is it Used in Blood Collection?
A Yellow Top Tube, also known as a Serum Separator Tube (SST), is a specialized blood collection tube designed to streamline the process of serum separation from whole blood. It contains a gel separator and a clot activator, which work together to facilitate the separation of serum from blood cells during centrifugation. The gel forms a barrier between the serum and blood cells, preventing their mixing and ensuring clear serum samples for laboratory analysis. The clot activator promotes rapid clotting of the blood, aiding in the separation process and minimizing the risk of clotting-related issues during storage and transportation.
In blood collection, the Yellow Top Tube is used to obtain serum samples for a wide range of diagnostic tests. After blood collection, the tube is centrifuged to separate the serum from the clot and gel barrier. The clear serum obtained is then used for various laboratory analyses, including tests for liver function, lipid profiles, kidney function, and hormone levels, among others. Its efficiency in serum separation and versatility in testing make the Yellow Top Tube a valuable tool in clinical laboratories, ensuring accurate and reliable diagnostic results for patient care.
The Science Behind the Yellow Top Tube (SST)
The Yellow Top Tube (SST) contains a clot activator and a gel barrier, facilitating rapid clotting and serum separation for various diagnostic tests.
How Does It Work?
- Draw Blood: Collect blood into the Yellow Top Tube.
- Clot Formation: Allow the blood to clot naturally within the tube.
- Centrifugation: Place the tube in a centrifuge and spin it.
- Gel Barrier Formation: The gel moves between the clot and serum during centrifugation.
- Serum Separation: Clear serum is separated above the gel barrier, ready for testing.
Importance key features of a Yellow Top Tube (SST)
| Key Feature | Description |
|---|---|
| Additive | Contains a clot activator and a gel for serum separation |
| Color | Yellow-colored cap or stopper |
| Material | Made of transparent plastic or glass |
| Capacity | Typically available in sizes ranging from 3 to 10 mL |
| Tube Type | Serum Separator Tube (SST) designed for serum collection and separation |
| Clot Activator | Accelerates the clotting process to enable quick serum separation |
| Gel Barrier | A gel that separates serum from blood cells during centrifugation, providing a clear serum sample for analysis |
| Common Uses | Used in chemistry panels, liver function tests, lipid profiles, and various other serum-based diagnostics |
| Centrifugation Requirements | Requires centrifugation to separate serum from the clot and gel barrier |
| Labeling Requirements | Requires proper labeling with patient details, date, and time of collection to ensure sample traceability |
This table provides a concise overview of the key features of a Yellow Top Tube (SST), highlighting its components, uses, and handling requirements.
Top 10 Laboratory Tests That Use Yellow Top Tube (SST)
- Comprehensive Metabolic Panel (CMP): Evaluates overall metabolic health, including kidney and liver function, electrolytes, and glucose levels.
- Basic Metabolic Panel (BMP): Assesses kidney function, blood sugar levels, and electrolytes.
- Lipid Panel: Measures cholesterol levels, including total cholesterol, LDL, HDL, and triglycerides.
- Liver Function Tests (LFTs): Determines the health of the liver by measuring enzymes, proteins, and substances produced by the liver.
- Thyroid Function Tests: Evaluates thyroid gland function by measuring thyroid hormones and thyroid-stimulating hormone (TSH).
- Serum Protein Electrophoresis (SPEP): Separates and analyzes proteins in the blood, useful for diagnosing various conditions.
- Cardiac Enzymes and Markers: Detects proteins released into the blood during a heart attack or other cardiac events.
- Hormone Levels: Measures various hormones, such as cortisol, testosterone, and estrogen, for endocrine function assessment.
- Vitamin D Levels: Determines the amount of vitamin D in the blood, essential for bone health and overall well-being.
- Hepatitis Panels: Screens for hepatitis A, B, and C infections and assesses liver function related to these viruses.
These tests rely on the serum separated by the Yellow Top Tube (SST) to provide accurate and reliable diagnostic information.
Best Practices for Using Yellow Top Tube (SST) in Phlebotomy
Verify Patiententity: Confirm the patient's details before collection to ensure proper labeling and avoid mix-ups.
Select Appropriate Vein: Choose a suitable vein, typically in the antecubital area, for a successful blood draw.
Apply Tourniquet: Use a tourniquet to engorge the vein and make it easier to access.
Cleanse Site: Disinfect the venipuncture site with an alcohol swab and let it air dry to prevent contamination.
Collect Blood: Perform venipuncture and draw blood into the Yellow Top Tube until it reaches the indicated fill volume.
Gently Mix: After collection, gently invert the tube 5-8 times to mix the blood with the clot activator.
Proper Labeling: Label the tube with the patient’s information, date, and time of collection to ensure accurateentification and traceability.
10 Step-by-Step Guide to Proper Yellow Top Tube (SST) Usage
Gather Equipment: Collect Yellow Top Tubes (SST), alcohol swabs, needles, tourniquet, and other necessary supplies.
Verify Patiententity: Confirm patient details, ensuring accurate labeling and preventing sample mix-ups.
Prepare Collection Site: Choose a suitable vein, typically in the antecubital area, and cleanse the site with an alcohol swab. Allow it to dry completely.
Apply Tourniquet: Securely apply a tourniquet above the venipuncture site to engorge the vein and facilitate blood flow.
Perform Venipuncture: Insert the needle into the vein at a 15-30 degree angle and collect the required blood volume into the Yellow Top Tube.
Mix Blood and Additives: After collection, gently invert the Yellow Top Tube 5-8 times to ensure thorough mixing of the blood with the clot activator and gel separator.
Label Tube: Clearly label the Yellow Top Tube with patient information, date, and time of collection to ensure properentification and traceability.
Centrifuge: Place the labeled Yellow Top Tube in a centrifuge and spin it at the recommended speed and time to separate serum from blood cells.
Transport and Storage: After centrifugation, transport the Yellow Top Tube to the laboratory for testing. Store the tube upright at the appropriate temperature until analysis.
Dispose of Waste: Dispose of used needles and other waste materials properly according to medical waste disposal guidelines.
7 Common Mistakes to Avoid When Using Yellow Top Tube (SST)
Incorrectentification: Always verify the patient'sentity and label the tube accurately to prevent mix-ups and ensure proper test results.
Inadequate Mixing: Failing to gently invert the tube 5-8 times after collection can lead to improper mixing of the blood with the clot activator, affecting serum separation.
Delayed Centrifugation: Waiting too long to centrifuge the tube can cause the blood to clot improperly, making it difficult to separate the serum.
Improper Centrifugation: Not centrifuging at the correct speed and time can result in incomplete separation of the serum from the blood cells.
Incorrect Fill Volume: Overfilling or underfilling the tube can lead to inaccurate test results. Ensure the tube is filled to the proper volume as indicated.
Contamination: Ensure aseptic technique during collection to prevent contamination, which can compromise the sample integrity.
Improper Storage: Storing the tubes at incorrect temperatures or inappropriately can degrade the sample quality. Store tubes as per guidelines to maintain sample integrity.
5 Innovations and Advances in Blood Collection: The Future of Yellow Top Tube (SST)
Enhanced Gel Technology: Improvements in the gel barrier formulation ensure more efficient and consistent separation of serum from blood cells, leading to higher quality samples for testing.
Microcollection Devices: Development of microcollection devices compatible with Yellow Top Tubes allows for the collection of smaller blood volumes, which is especially beneficial for pediatric and geriatric patients.
Integrated RFID Technology: Incorporating RFID chips into Yellow Top Tubes enhances sample tracking and management, ensuring accurate data recording and reducing the risk of errors during handling and processing.
Advanced Coagulation Activators: Innovations in clot activator formulations lead to faster and more reliable clotting, reducing the waiting time before centrifugation and improving overall efficiency in sample processing.
Improved Material and Design: Use of more durable and less reactive materials in the tube and stopper design reduces the risk of hemolysis and contamination, ensuring better preservation of the blood sample's integrity and quality.
FAQS: Blood Collection Yellow Top Tube (SST)
1. Why is a Yellow Top Tube used in blood collection?
A Yellow Top Tube, also known as a Serum Separator Tube (SST), is used in blood collection because it contains a gel separator and clot activator. This facilitates the separation of serum from blood cells, ensuring clear and uncontaminated serum samples for laboratory testing.
2. How long should blood be allowed to clot in a Yellow Top Tube?
Blood should be allowed to clot in a Yellow Top Tube for at least 30 minutes to ensure complete clot formation. However, leaving it for longer periods may lead to clot retraction, which could interfere with test results.
3. Can a Yellow Top Tube be used for coagulation tests?
No, Yellow Top Tubes are not suitable for coagulation tests as they contain a clot activator, which can interfere with coagulation studies. Light Blue Top Tubes containing sodium citrate are typically used for coagulation testing.
4. How soon should a Yellow Top Tube be centrifuged after blood collection?
A Yellow Top Tube should be centrifuged within 2 hours of blood collection to prevent clot retraction or hemolysis. Delayed centrifugation may lead to inaccurate test results.
5. What tests can be performed using serum collected in a Yellow Top Tube?
Serum collected in a Yellow Top Tube can be used for various tests, including liver function tests, lipid profiles, kidney function tests, electrolyte measurements, and hormone assays, among others.
6. Can serum from a Yellow Top Tube be stored for future testing?
Yes, serum from a Yellow Top Tube can be stored for future testing. However, it should be stored properly at the appropriate temperature and handled carefully to avoid contamination or degradation.
7. Are there any special considerations when using Yellow Top Tubes for pediatric patients?
When collecting blood from pediatric patients using Yellow Top Tubes, it's essential to use appropriate needle sizes and consider the smaller blood volume to avoid excessive blood loss. Additionally, gentle handling and proper labeling are crucial to ensure accurate test results.
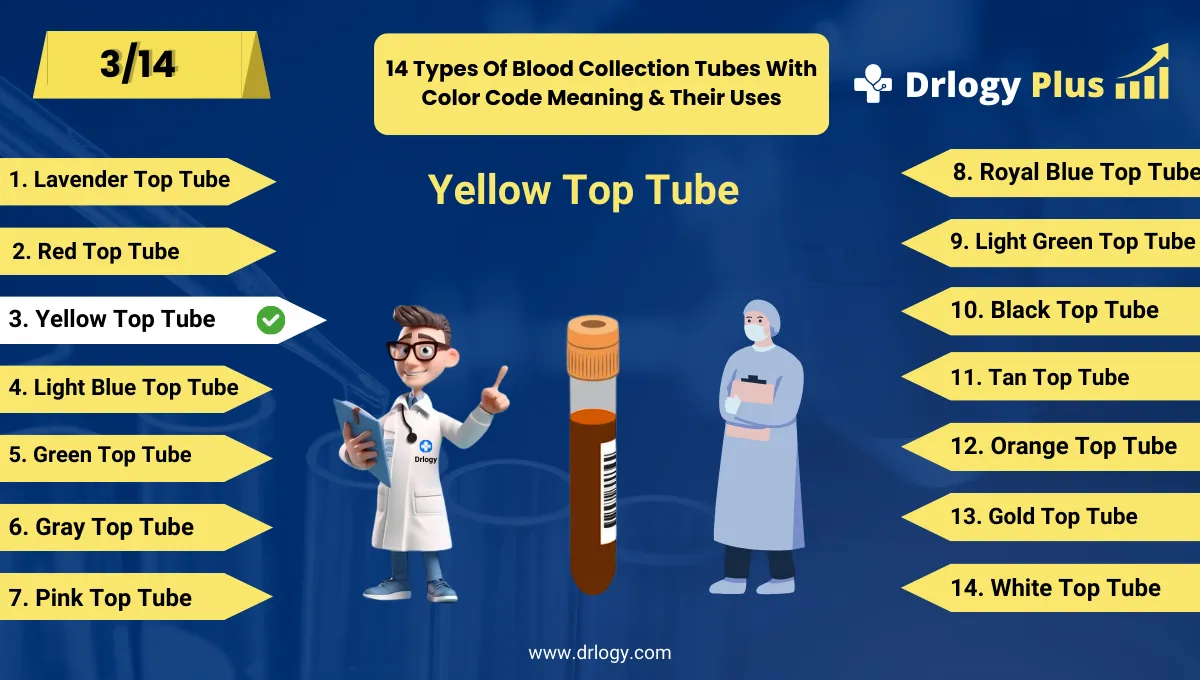
Drlogy Blood Cllection Tube Guide
Here are 14 types of blood colelction tubes with color.
Conclusion
In the realm of blood collection, the Red Top Tube stands as an enduring symbol of precision and reliability. Its evolution reflects the continuous pursuit of excellence in medical diagnostics, adapting to the changing landscape of healthcare. As technology advances and innovation drives progress, the Red Top Tube remains a steadfast ally, ensuring accurate diagnoses and quality patient care.
Check Complete Guide on Drlogy Blood Collection Tubes with Color Codes & Uses to master phlebotomy techniques, improve sample handling, and reduce pre-analytical errors