Drlogy
Healthcare organization
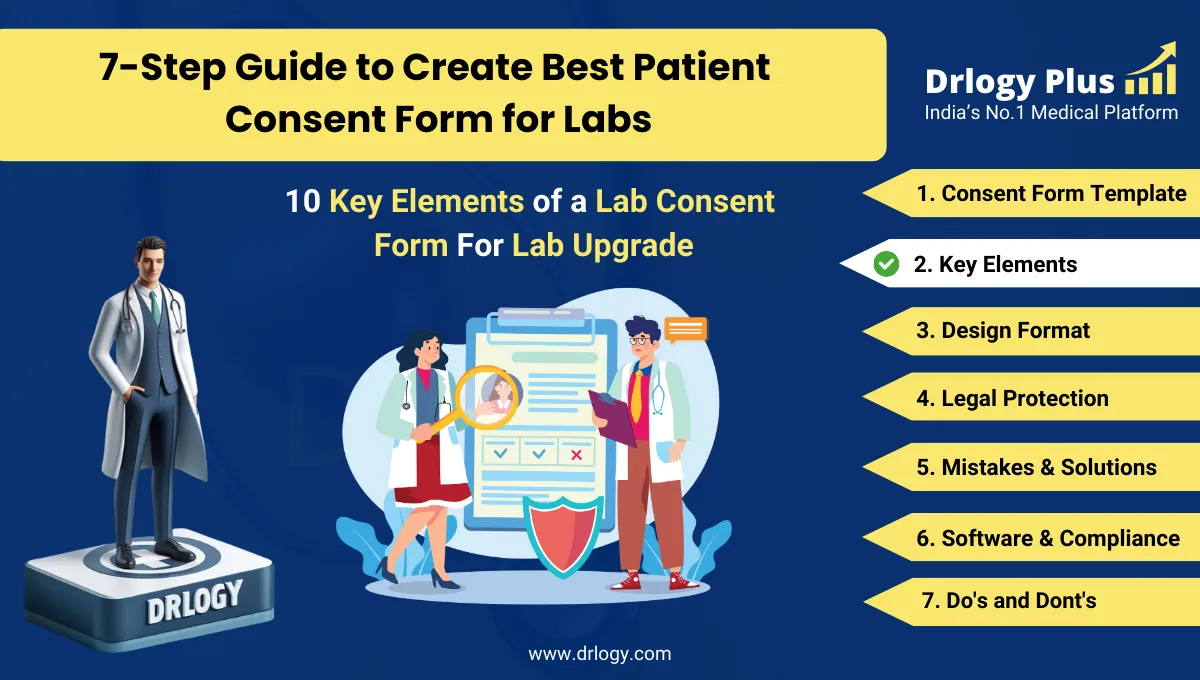
10 Key Elements of a Lab Consent Form For Lab Upgrade
A well-crafted lab consent form isn’t just a formality - it’s a legal and ethical necessity.
Check:
It ensures transparency, builds patient trust, and safeguards both labs and patients during diagnostic procedures.
Top 10 Key Elements of a Lab Consent Form Format & Templates to Upgrade Lab
Here are Top 10 Key Elements of a Lab Consent Form Format & Templates to Upgrade Lab.
1. Purpose of the Test
- Clearly state the reason why the test is being conducted.
- Mention what medical condition or concern the test is addressing.
- Explain how the test results will help guide diagnosis or treatment.
- Ensure the patient understands the goal behind giving the sample.
- Avoid technical jargon and make the explanation easy to comprehend.
This section helps the patient understand why the test is needed and what it aims to achieve.
2. Description of the Procedure
- Provide a step-by-step overview of what will happen during the test.
- Inform the patient about sample collection methods, such as blood draw or swab.
- Mention any preparation required, like fasting or medication stoppage.
- Be honest about any discomfort, like needle pricks or swabbing.
- Ensure the patient knows how long the procedure will take.
Giving a clearea of the test procedure helps patients feel informed and reduces anxiety.
3. Potential Risks and Benefits
- Clearly list possible side effects or complications that might occur.
- Describe common minor risks like bruising or mild pain.
- Include rare but serious risks if applicable to the test type.
- Explain the expected benefits or health insights the test provides.
- Help the patient weigh the pros and cons of undergoing the test.
Discussing risks and benefits promotes transparency and informed decision-making.
4. Alternatives to the Test
- Mention if there are other diagnostic methods available.
- Clearly explain how those alternatives compare in accuracy or cost.
- Inform the patient if they can choose not to undergo any test at all.
- Discuss any non-invasive options if available.
- Ensure the patient knows they have options and autonomy.
Listing alternatives empowers patients to make choices aligned with their preferences.
5. Confidentiality
- Assure patients that their test results will remain private.
- Mention who will have access to the test data (e.g., doctor, lab staff).
- Clarify how the lab complies with data protection laws and policies.
- Inform patients if any data will be used for research (with anonymization).
- Reassure them that no information will be shared without consent.
Highlighting confidentiality builds patient trust and complies with legal obligations.
6. Voluntary Participation
- Clearly state that the test is not mandatory.
- Inform the patient they can refuse or withdraw at any point.
- Reassure that their medical care will not be affected by their choice.
- Avoid coercion or pressure to sign the form.
- Ensure theuage promotes informed and voluntary decision-making.
Voluntary participation ensures ethical practices and patient freedom of choice.
7. Patient’s Rights
- Mention the patient’s right to ask questions about the test.
- Include their right to refuse the test or request a second opinion.
- State that the patient can ask for an interpreter or additional information.
- Let them know they can review their consent at any time.
- Emphasize respect and dignity in all lab-patient interactions.
Outlining rights makes patients feel respected, protected, and involved in their care.
8. Signature Lines
- Provide a clearly labeled line for the patient's signature.
- Add a space for the witness or lab personnel to sign.
- Make sure the form explains what the signature means.
- Confirm the patient has understood everything before signing.
- Allow the patient time to review the form before signing.
Signatures legally validate the consent and confirm patient understanding.
9. Date
- Include a space to write the date next to each signature.
- Use the date to validate the form’s current relevance.
- Ensure all dates are clearly written and unambiguous.
- Make sure the date field is not left blank.
- Match the date to the time the information was provided.
The date confirms when consent was given and ensures legal accuracy.
10. Contact Information for Questions
- Provide the name and contact details (phone/email) of the responsible lab staff or doctor.
- Make sure the contact person is someone knowledgeable who can answer follow-up questions.
- Clearly indicate the hours or days they are available to respond.
- Include an alternate contact in case the primary person is unavailable.
- Let patients know they are encouraged to reach out with any concerns.
Giving patients a clear contact point ensures they feel supported and informed even after leaving the lab.
Drlogy Lab Consent Form Guide
Here are 7 steps guide for Drlogy Lab Consent Form Guide.
| 1. Lab Consent Form Templates |
| 2. Lab Consent Form Key Elements |
| 3. Consent Form Key Guidelines |
| 4. Consent Form Legality |
| 5. Consent Form Mistakes |
| 6. Consent Form Compliance |
| 7. Consent Form Do's & Don'ts |
Summary
Overall, These 10 essential lab consent form templates ensure smooth, legal, and transparent processes for pathology labs, ensuring compliance and patient trust
Check Drlogy Consent Form Guide to providing a comprehensive overview of essential consent forms, ensuring your lab remains compliant, transparent, and patient-friendly.