Drlogy
Healthcare organization
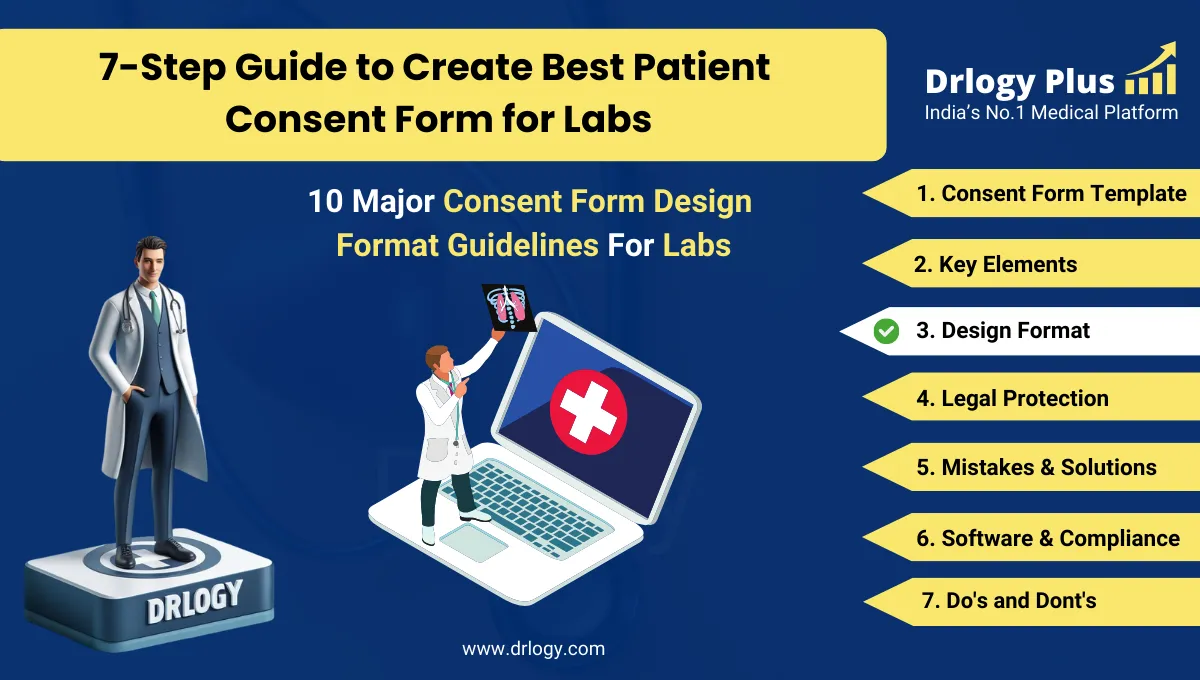
10 Major Consent Form Design Format Guidelines For Labs
A clear, well-formatted lab consent form not only boosts professionalism but also ensures patients understand their rights and procedures.
Check:
Effective design prevents miscommunication, legal issues, and enhances overall lab compliance.
10 Major Consent Form Design Format Guidelines For Labs
Here are 10 Major Consent Form Design Format Guidelines For Labs.
1. Use Clear and Simpleuage
- Avoid technical jargon or overly complex medical terms.
- Use short, straightforward sentences for easier comprehension.
- Aim for a reading level suitable for the general public.
- Translate into localuages when necessary.
- Add examples or explanations for medical terms if used.
Clear and simpleuage ensures better patient understanding and fewer consent errors.
2. Organize Sections with Headings
- Use bold headings to separate different parts of the form.
- Include consistent section titles like Purpose, Risks, Benefits, etc.
- Headings help guide patients logically through the content.
- Leave sufficient space between sections for readability.
- Add subheadings for lengthy sections when needed.
Organized headings help patients navigate the form easily and understand each section clearly.
3. Maintain a Clean and Professional Layout
- Use aligned margins and consistent font size (11–12 pt).
- Stick to professional fonts like Arial or Times New Roman.
- Avoid clutter with ample white space between sections.
- Include a lab logo or letterhead for branding.
- Keep the layout visually balanced and uniform.
A clean, professional layout enhances trust and improves readability.
4. Include Signature and Date Sections
- Provide dedicated fields for the patient and witness signatures.
- Include the printed name below each signature line.
- Clearly label the date fields for both parties.
- Ensure these sections are easilyentifiable at the end.
- Add “I have read and understood…” line above signature if needed.
Signature and date sections validate legal consent and ensure proper documentation.
5. Add Checkboxes for Specific Consents
- Use checkboxes for optional parts of consent (e.g., data sharing).
- Label each checkbox clearly with its purpose.
- Helps in separating general consent from optional procedures.
- Prevents future legal confusion over what was approved.
- Encourage patients to tick boxes themselves.
Checkboxes make forms more interactive and allow for flexible, specific consents.
6. Highlight Patient Rights Clearly
- Add a separate section listing patient rights.
- Mention the right to refuse or withdraw at any point.
- Include rights to ask questions and receive additional info.
- Keep rights in bullet points for easy reading.
- Emphasize that treatment is not affected by refusal.
Clearly stating patient rights reinforces transparency and ethical compliance.
7. Use Visual Elements for Emphasis
- Add boxes or shading around critical information.
- Use icons or symbols to draw attention to risks or benefits.
- Bold or underline key phrases like “Voluntary” or “Confidential.”
- Visual cues help patients quickly grasp important points.
- Keep visuals minimal and professional.
Visual elements boost attention and highlight essential information effectively.
8. Ensure Compatibility with Digital Formats
- Design forms to be fillable online as well as printable.
- Use PDF or electronic signature compatibility tools.
- Make sure font and layout work on mobile devices.
- Include digital checkbox or dropdowns for interactive use.
- Ensure online forms meet data protection standards.
Digital compatibility makes consent forms accessible, convenient, and compliant.
9. Include Emergency Contact Section
- Provide a field for patient to list an emergency contact.
- Label fields for name, relation, and phone number.
- Add a note on why this is needed (in case of reaction, etc.).
- Include checkbox for permission to contact them.
- Helps labs act swiftly during any adverse event.
Emergency contact details improve patient safety in critical situations.
10. Review & Update Regularly
- Set a standard procedure for periodic review of the form.
- Include a version number or “last updated” field.
- Update based on regulation changes or patient feedback.
- Involve legal or compliance officers in reviews.
- Keeps your form legally sound and up-to-date.
Regular updates ensure your consent forms remain accurate and legally compliant.
Drlogy Lab Consent Form Guide
Here are 7 steps guide for Drlogy Lab Consent Form Guide.
| 1. Lab Consent Form Templates |
| 2. Lab Consent Form Key Elements |
| 3. Consent Form Key Guidelines |
| 4. Consent Form Legality |
| 5. Consent Form Mistakes |
| 6. Consent Form Compliance |
| 7. Consent Form Do's & Don'ts |
Summary
Overall, Following these 10 consent form design guidelines ensures clarity, compliance, and patient trust, helping your pathology lab operate more efficiently and responsibly.
Check Drlogy Consent Form Guide to providing a comprehensive overview of essential consent forms, ensuring your lab remains compliant, transparent, and patient-friendly.